In order to complete the Zapier integration and automate your workflows on the Connect platform, Zapier needs access to read and write data on each of your selected applications. Therefore, it is the required to specify your authorization token of account on the CloudBlue Connect platform.
There are two ways you can connect your app accounts to Zapier: via the My Apps page or via the Zap Editor. Note that you can also connect multiple accounts with a single app to Zapier. It also uses bank-level encryption to protect the credentials that you use to access your app accounts. Zapier only takes actions in your app accounts that are required to run your specified Zaps.
Zapier allows connecting your application account by accessing the My Apps page.
Click Connect a new account to open a dropdown menu. Thereafter, select an application that you want to connect.
Once a new window is opened, follow the provided instructions to connect your application account.
Zapier also enables you to connect your account when you build Zaps in the corresponding editor.
Once you select your application, event, trigger or even, the Zapier platform prompts you to configure your application account. Thereafter, click Connect an Account to start configuring your account.
Zapier CloudBlue Connect application requires your created authentication token to successfully configure your integration on the Zapier platform.
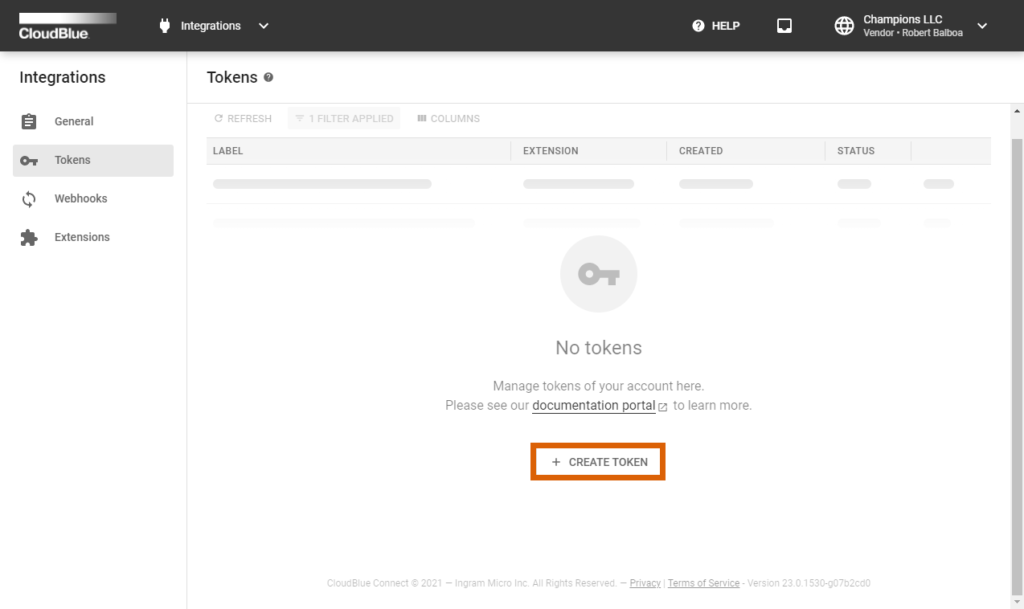
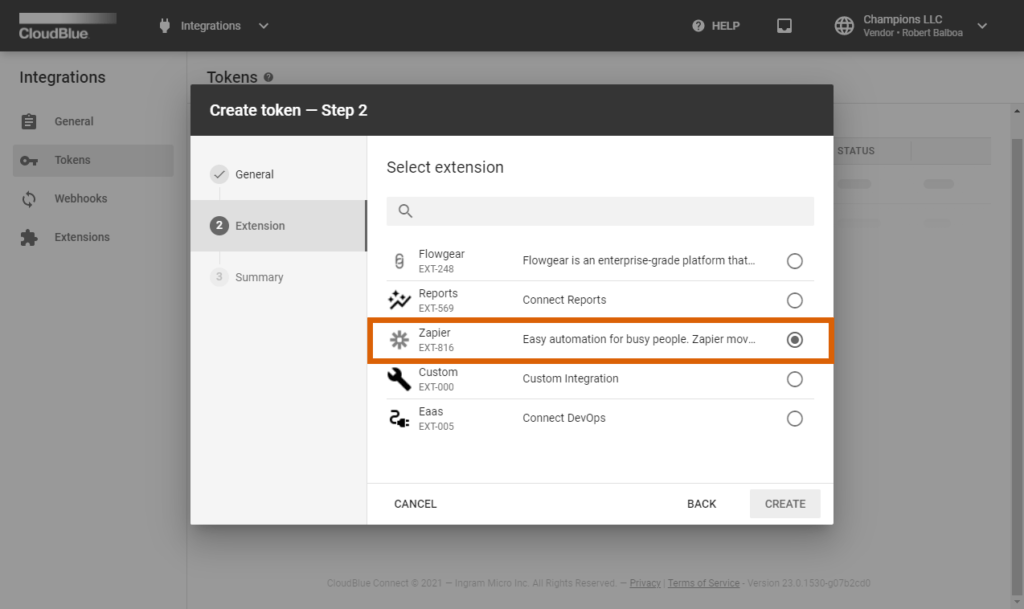
Access the Integration module on the Connect platform. Next, navigate to the Tokens section and create your Zapier token by clicking the corresponding button. Make sure to select the Zapier extension while creating your token:


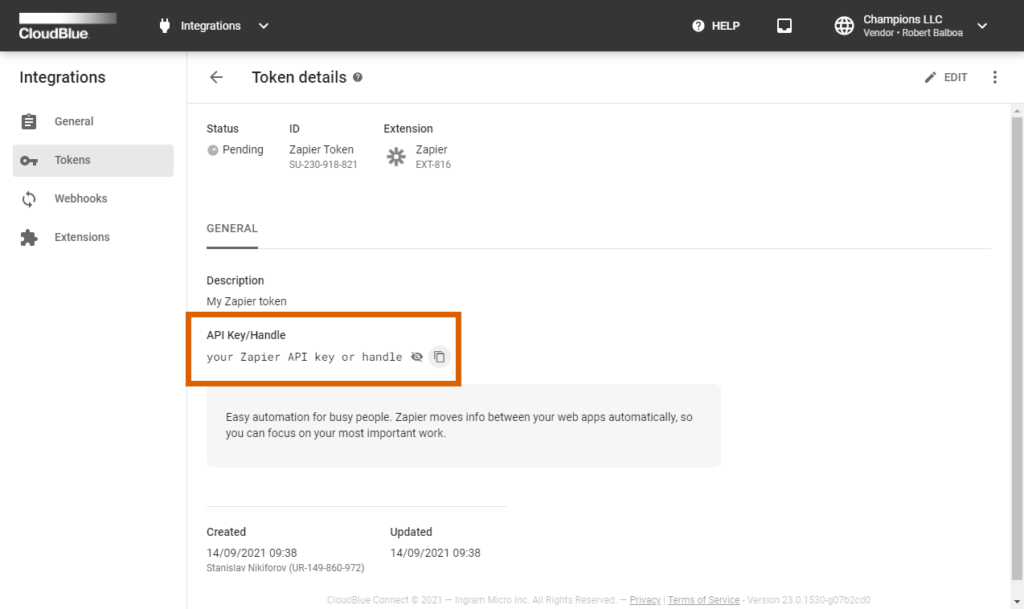
Once your token is created, access your token details and copy your API Key/ Handle.
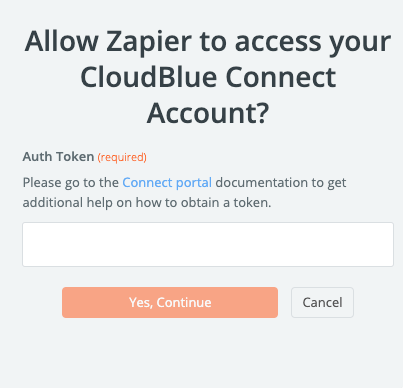
Finally, paste your copied API key to the Auth Token field on the Zapier platform:

As a result, your Connect account will be successfully linked to Zapier and you can continue with your integration creation by clicking the Yes, Continue button on the Zapier interface.
 Contact us