
Before starting to work with the Zapier workflow automation platform, it is important to understand basic concepts of this platform. The following outlines and describes the essential terminology and general operations on Zapier.
The Zapier platform is used to build simple automations that are often referred to as Zaps. Namely, Zaps allow connecting your selected applications and services. Zaps work in the background and automate your defined workflows.
Every Zap consists of a trigger step (“when this happens…”) and one or more action steps (“then do this…”). When you turn your Zap on, it will run the action steps every time the trigger event occurs.
Note that there are two ways to create Zaps: by using a template or creating a new Zap from scratch.
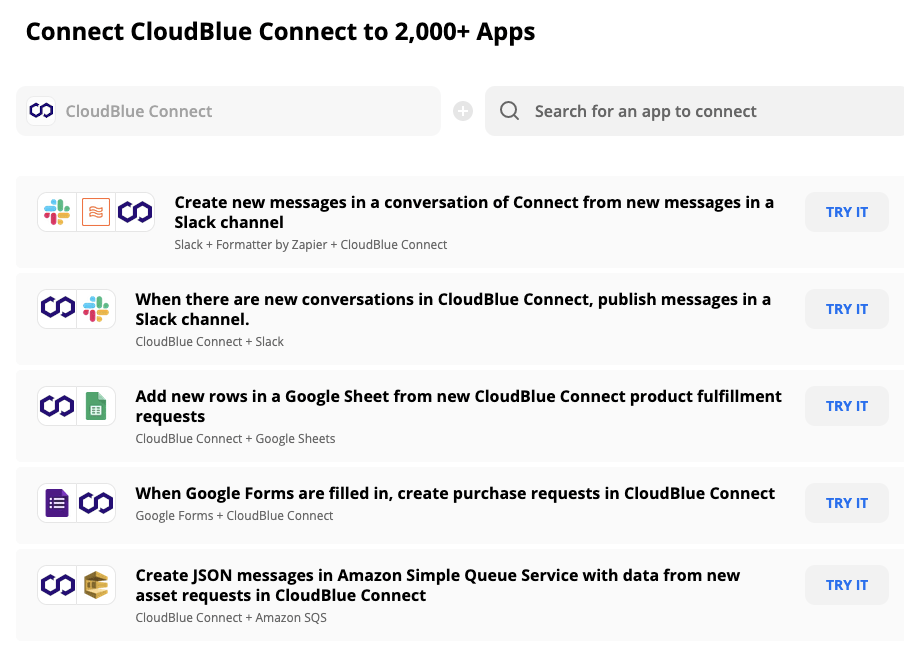
Select one of the available pre-built Zaps (Zap templates) by accessing your Dashboard, the Zapier Explore page, the Zapier blog, and Cloudblue Connect APP. To use a Zap template, choose a template from the list and click the Try It button.
In case more information on Zap templates is required, please refer to the Zapier documentation.
The system also allows your to create a new Zap from scratch. Sign into your Zapier account and click the Make a Zap button as illustrated below:
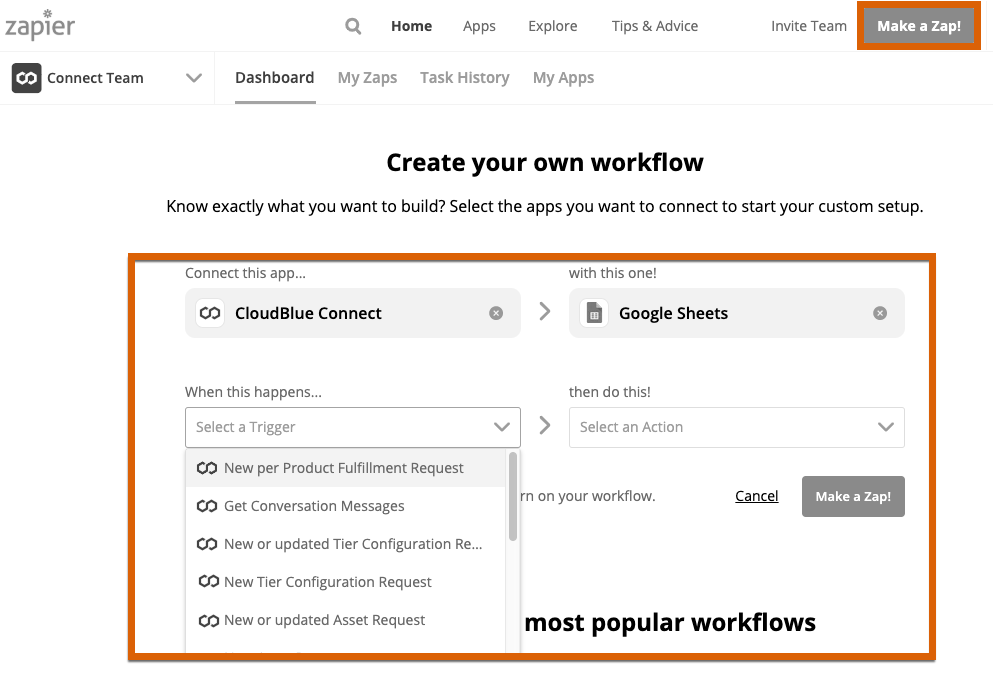
Once you create a new Zap or select provided Zap templates, the system requires you to define triggers and actions steps for your workflow.
Triggers define how your application users can start automated workflows whenever they add or update something. Triggers typically represent new emails, messages, blog posts, subscribers, form entries, commits, and more. Note that triggers are displayed in the order they are added to Zapier integrations. Therefore, make sure sure to create your most important triggers first.
In general, triggers are used to check for new data. Triggers usually send little to no data to the application. Zapier uses triggers to watch for any new or updated objects via your API. Alternatively, you can include input fields and your users can enter filters, tags, and other details to locate updates and required information.
Zapier actions push or put new data into applications via platform calls that pass data from user customized input fields. Note that actions are also displayed in the order they are added to Zapier integrations. Thus, make sure to add your most important action steps first.
Zapier can create new items in your application or update existing items by using a create action. Furthermore, Zapier can find existing items in your application by using search actions (which can optionally be paired with create actions to add a new item in case the search does not return a result).
In addition, Zapier allows defining output fields for your actions. Output fields give your API data user-friendly names in subsequent Zap steps.
In order to prevent data loss, Zapier does not allow action steps to delete or remove data. Action steps may only add or update data.
Search action steps, as the name suggests, are used to locate specified data in applications. In case required information is not found, Zapier can fill in gaps and create missing objects.
Search actions can be increasingly helpful for your Zapier workflows. For example, such actions can help avoid adding duplicate items and prevent any workflow errors. Locating required information can be also necessary for your subsequent action step. Furthermore, using search action steps can be essential for your workflow, for instance, to create contact search apps, weather forecast, conversion and other applications .
In general, most Zapier integrations include at least one action step that allow users to automatically create required data. Create action steps are used to add new files, projects, tasks, images and other objects to required applications. Note that create action steps can also be used to update existing items. In such cases, search actions usually help locate required objects first.
 Additional content
  Contact us
