
The following outlines and describes all required steps to successfully build an integration for CloudBlue Connect and your system on the Zapier automation platform.
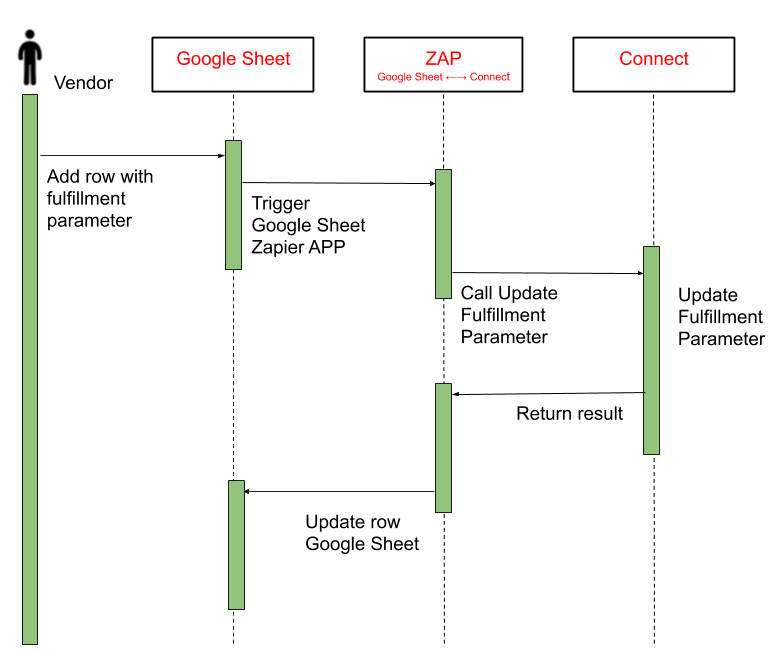
The first step for successful integration on Zapier is to determine your scenario and the role of your organization. Namely, it is required to understand your role as described in Connect Actors and a business flow that you want to automate. For example, a Vendor organization can automate the fulfillment phase of the Order Flow (that includes providing fulfillment parameter data, such as serial numbers, passwords, account IDs, etc.):

In this case, a Zap trigger can be configured to acquire fulfillment parameter data from spreadsheet rows of Google Sheet (or any other connected application). Thus, Zapier can trigger the Google Sheet Zapier application once new information is provided. Thereafter, Zapier can be configured to automatically update fulfillment parameter data on the Connect platform. Furthermore, Zapier can update required rows on Google Sheet once fulfillment parameter is successfully updated. The following diagram illustrates the aforementioned scenario:
Use the same logic to plan your workflow and successfully configure your integration on the Zapier platform.
A trigger represents an event that usually starts a workflow (Zap) on the Zapier platform. For example, in case you want to receive a notification once you get a conversation message on the Connect platform, it is necessary to use Get Conversation Messages trigger. Learn more about all available Connect Zapier application triggers by accessing the following article:
Cloudblue Connect Zapier APP Triggers
Set up your trigger by selecting your application and event. Thereafter, the Zapier platform prompts you to specify your account and trigger options. Once your trigger is configured, you can test your trigger by using the corresponding option in the Zapier user interface. In case more information on trigger creation is required, please refer to the Zapier documentation.
After you set up your Zap trigger, the next step is to add an action to your Zap. An action represents an event your Zap performs when your trigger event occurs. For instance, Zapier can automatically locate and approve your fulfillment requests on Connect, in case Search an Asset Request and Approve Asset Request actions are selected. Learn more about all available Connect Zapier application actions and search operations by accessing the following articles:
CloudBlue Connect Zapier APP Actions
CloudBlue Connect Zapier APP Searches
Configure your action by selecting required app and event, connecting your account and setting up data for your operation. Once your action is successfully configured, you can also test your action by using the corresponding option in the Zapier user interface. In case more information on action creation is required, please refer to the Zapier documentation.
The Zapier platform provides a set of various tools and settings that helps build your required workflows and customize your integration with the CloudBlue Connect platform. The following introduces and describes such tools and settings:
Filters can be added to any Zap in order to activate it only when certain conditions are met. For example, if you want to send a text message each time you receive an email, you can add a filter to activate Zap in case new emails are received from a specific email address. Learn more about Zap filters by accessing the Zapier documentation.
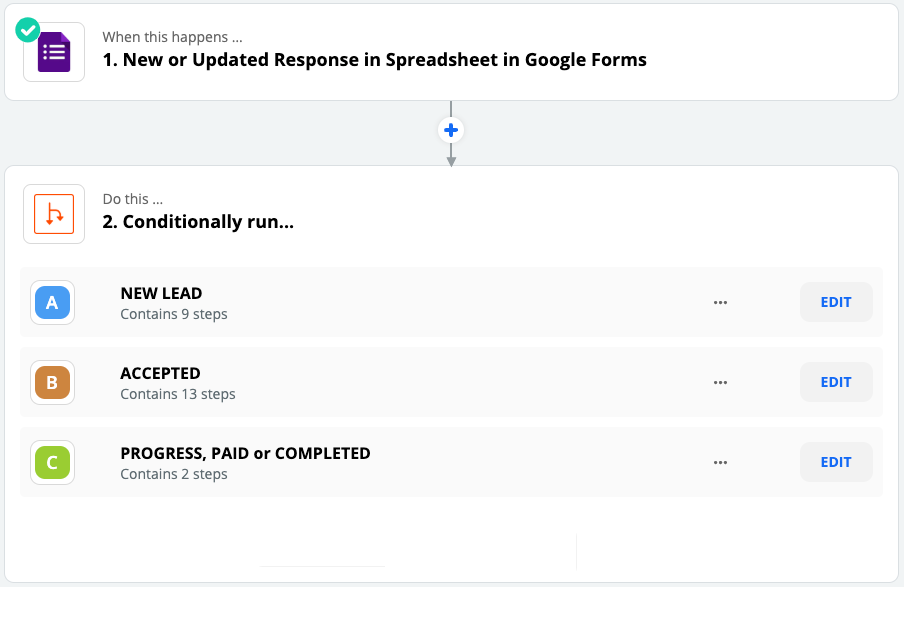
Paths let you build advanced workflows to perform different actions based on different conditions. Paths use conditional, the if/then logic: if A happens in your trigger app, then do X. If B happens, then do Y, and so on.
Zap Multi-path example
Learn more about Zap paths by accessing the Zapier documentation.
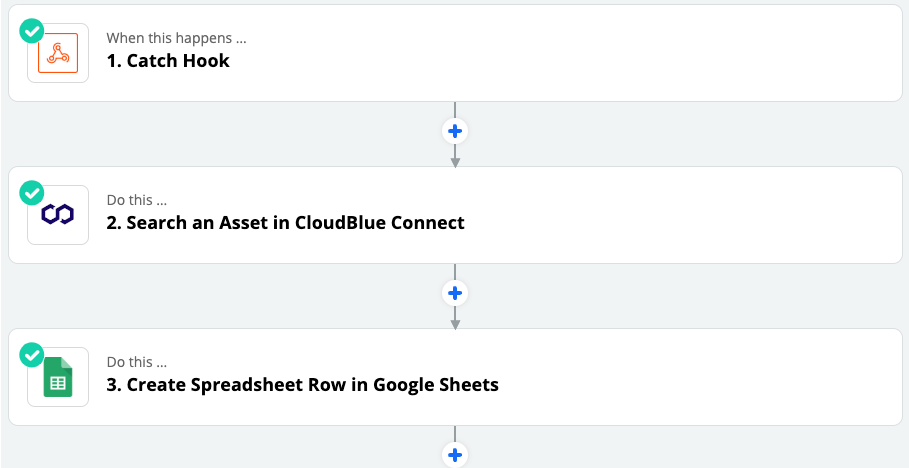
A single-step Zap has one trigger and one action. In case your Zap has more than one action, or includes filters or searches, it is considered a multi-step Zap. Note that multi-step Zaps are not available on a free Zapier plan.
Zap Multi-step example
Once you finish building your integration, you can test it by using the TEST & REVIEW or TEST & CONTINUE options that are highlighted below:
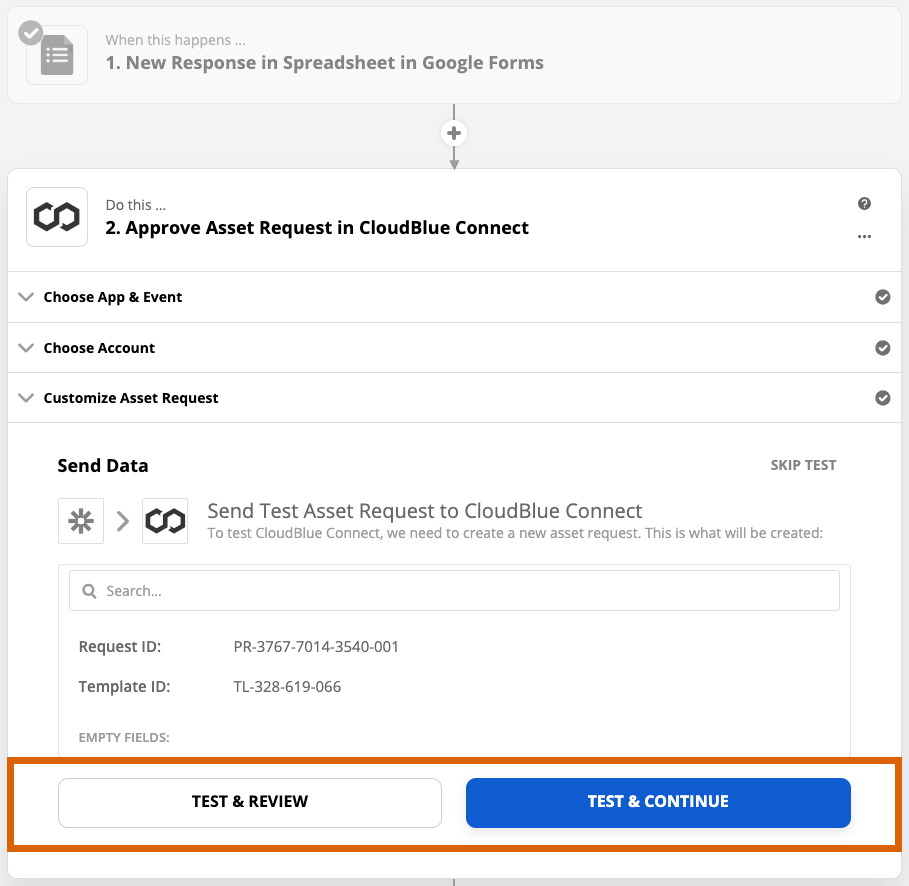
Test options are generally very helpful to identify any errors of your integration. Note that test operations can be also used to analyze your response output and compare it with the excepted data.
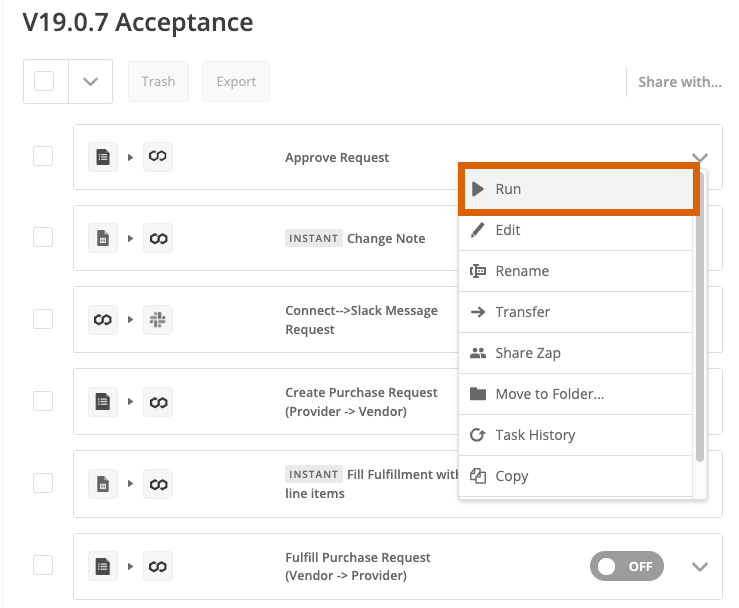
Once your integration tests are complete, enable it by using the Run button on the Zapier interface. It is also possible to configure Zapier to run your integration automatically.
Zapier will check for new data from your trigger every 1 to 15 minutes in order to start your workflow, depending on your subscription plan.
Zapier relies on a few methods to make sure that your Zap does not trigger multiple times for a single new item. Learn more about how triggers are deduplicated in Zaps.
Access this link for more information on management and administration of the integrations.
 Additional content
  Contact us
