
Follow the steps below to create a new offer on the Microsoft Partner Center:
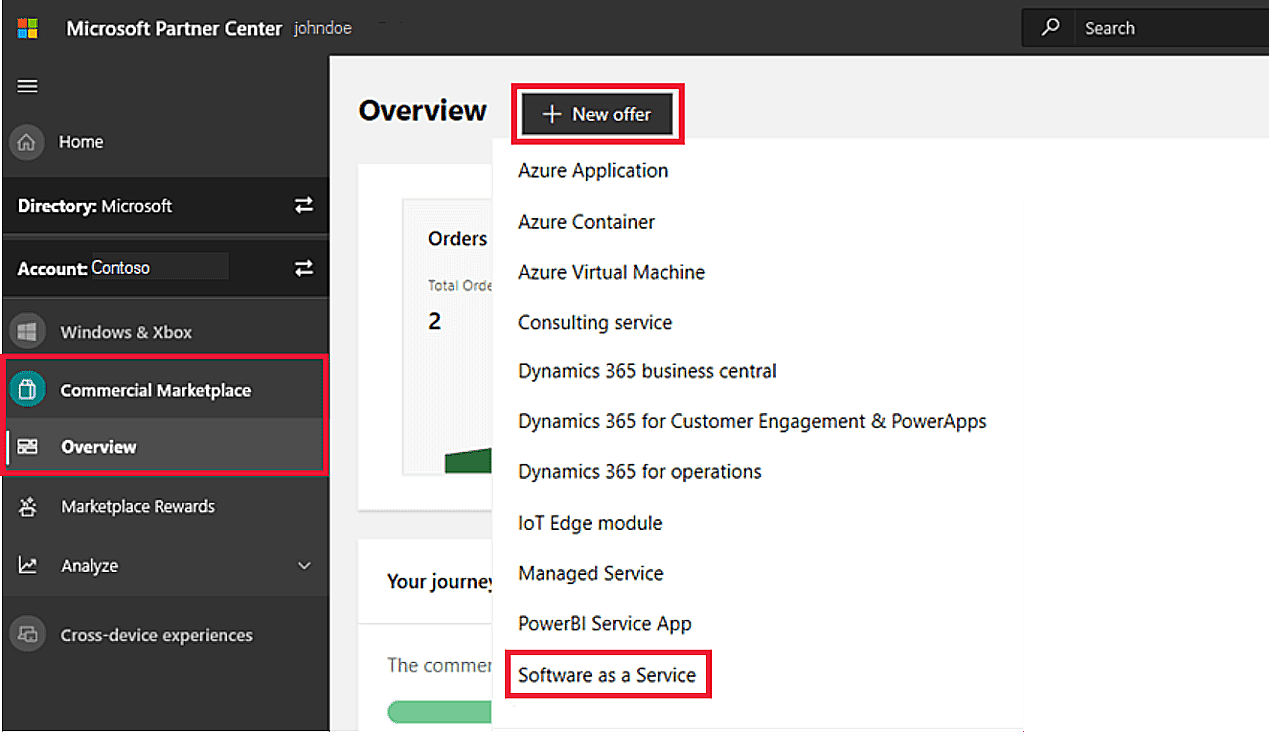
Thereafter, start configuring your offer by using the provided form.
The system prompts your to enter an Offer ID. It represents a unique identifier for each offer in your account. It is also important to note that:
https://azuremarketplace.microsoft.com/marketplace/../test-offer-1.The system also requires to specify an Offer Alias. It represents is a name that is used for your offer in the Partner Center. Note that your offer alias isn’t used on the marketplace and it is different from the offer name and other values shown to customers. Once your offer is created, your offer alias cannot be changed.
In case the provided form is filled out, click the Create button to generate your new offer.
Once your new offer is created, the system provides the Publish Status in the Offer Overview menu. This status displays a visual representation of the steps required to publish this offer and how long each step will take to complete. Incomplete publishing step icons will be greyed out.
The Offer Overview menu also contains a list of links for performing operations on this offer. This list will be changed based on your offer updates. This menu also allows performing various operations with your offer:
In order to list Software as a Service (SaaS) offers on Commercial Marketplace via Partner Center, the following criteria must be met:
Promote your business with Microsoft by creating a marketplace listing. Note that it is possible to list your offer and do not perform transitions via Microsoft. In this case, Microsoft doesn’t participate directly in software license transactions. There are no associated transaction fees and the publisher keeps 100% of any software licensing fees collected from the customer. However, the publisher is responsible for supporting all aspects of the software license transaction, including but not limited to: order fulfillment, metering, billing, invoicing, payment, and collection.
List your offer to customers for free by providing a valid address (beginning with Http or https) where they can get a trial through one-click authentication by using Azure Active Directory (Azure AD)). For example, https://contoso.com/saas-app.
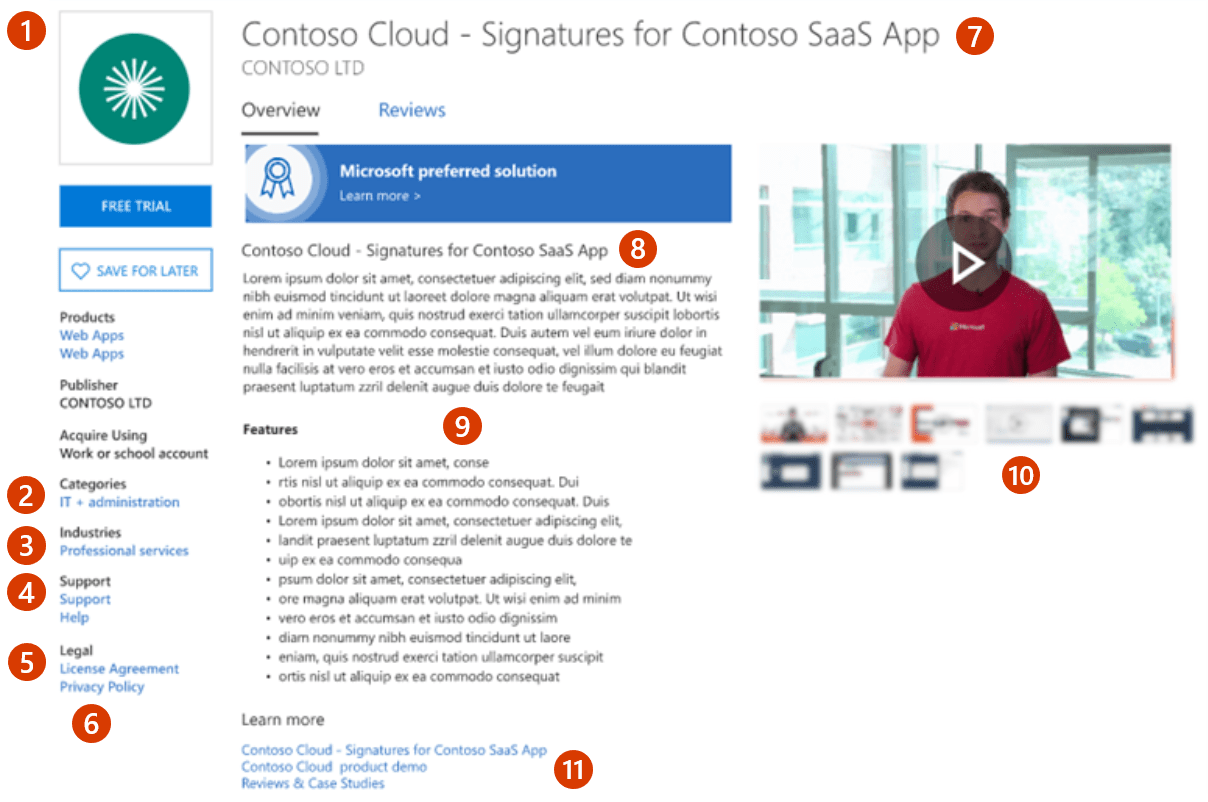
The following example showcases how your offer information will appear in Microsoft AppSource:
The following example demonstrates how your offer information appears in the Azure Portal:

The following video describes pricing configuration on Microsoft Commercial Marketplace:
 Additional content
  Contact us
