Install the Connector on you Design Center by adding an asset with the Mulesoft Extension to Anypoint Exchange. The following provides instructions on how to publish the Connector asset on Anypoint Exchange and consequently deploy the Connector to your Design Center.
Before following the guidelines below, make sure that the following requirements are met:
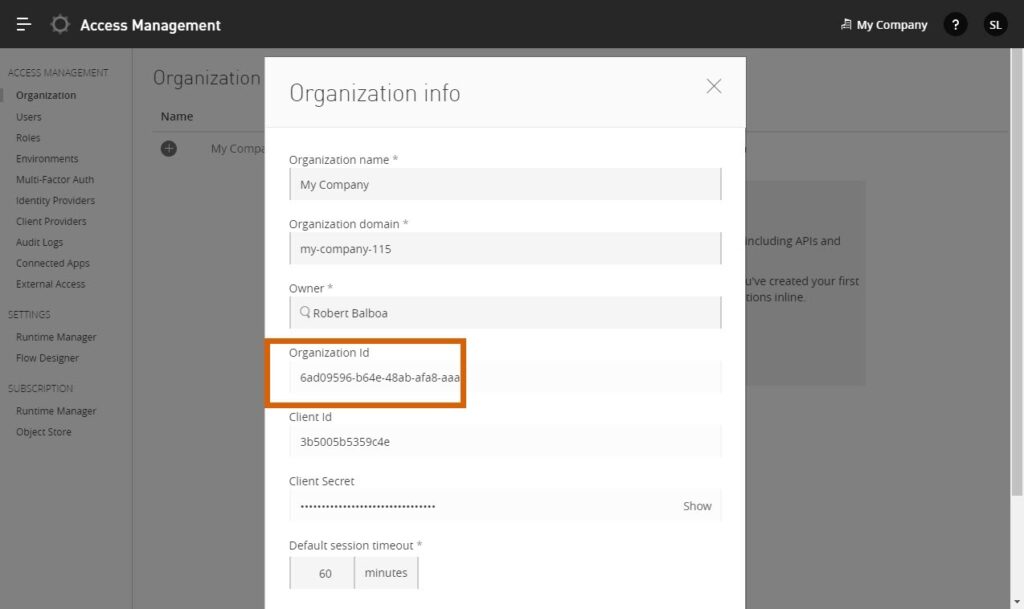
In addition, note that is required to provide your organization ID. Access the required identifier as described below.
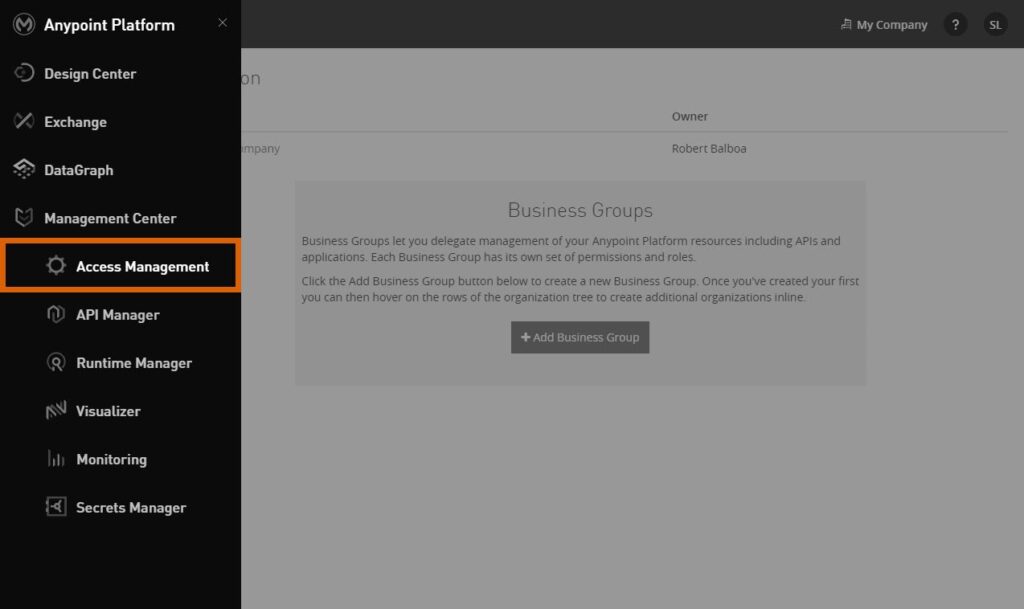
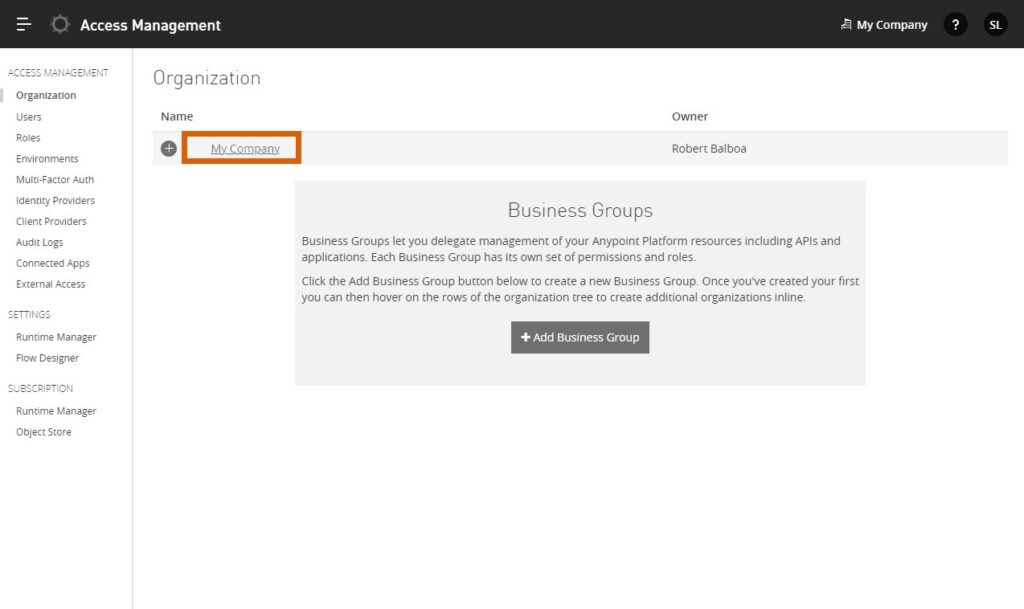
Locate your organization identifier to modify the required elements of the Maven POM file and successfully publish your asset to Anypoint Exchange. The following steps showcase how to access your organization ID:


Therefore, you can use your organization ID for the following POM file configuration.
Access the POM file that should be obtained from the GitHub repository or Maven Central Repository. Thereafter, follow the steps below to successfully configure the POM file:
1. Paste your organization ID to the groupId element as follows:
2. Specify your organization ID within the distribution management element of the POM file:
Once all required adjustments are saved, it is necessary to update the settings file within your Maven .m2 directory.
Once you install Apache Maven, the mvn clean command creates the .m2 directory. The directory is located at ~/.m2 on macOS and Linux. Windows users can find this folder at: <default-drive>\Users\YOUR_USER_NAME\.m2. This folder should contain a settings file that is read by the Maven client.
Specify your Anypoint Platform credentials within the settings file as follows:
Once your credentials are successfully updated, execute the following command to compile the source code:
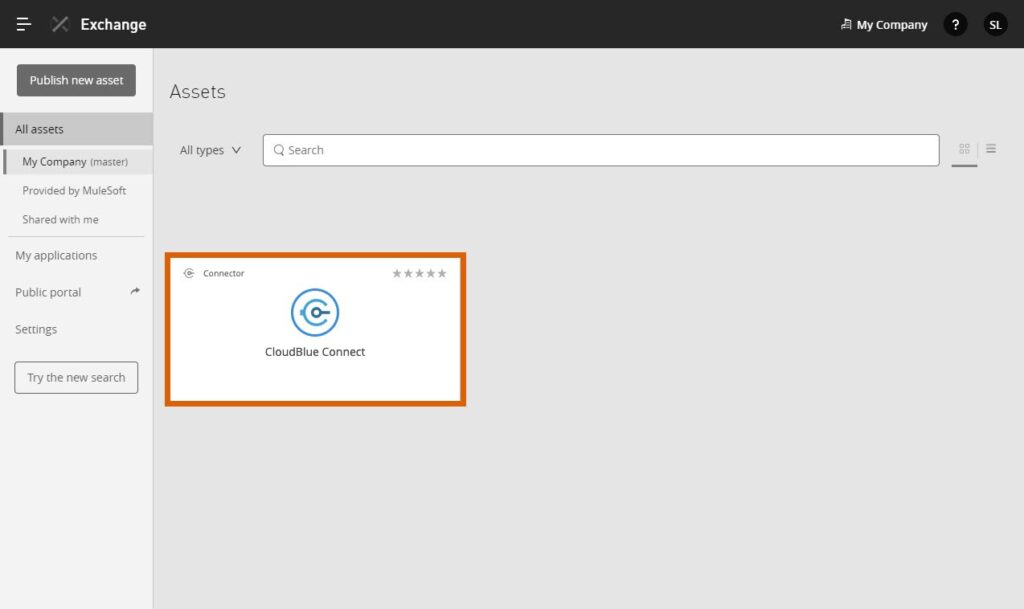
Therefore, the Connector can be successfully published on Anypoint Exchange. You can download, share and use the Connector in your Design Center.

 Contact us