
Use the instructions below to successfully install and configure the Connector for the Anypoint Studio. Note that it is possible to download the Connector via Maven Central Repository or GitHub repository.
Before following the provided guidelines, make sure that the following requirements are met:
Follow the steps below to successfully install the Connector via the Maven Central Repository:
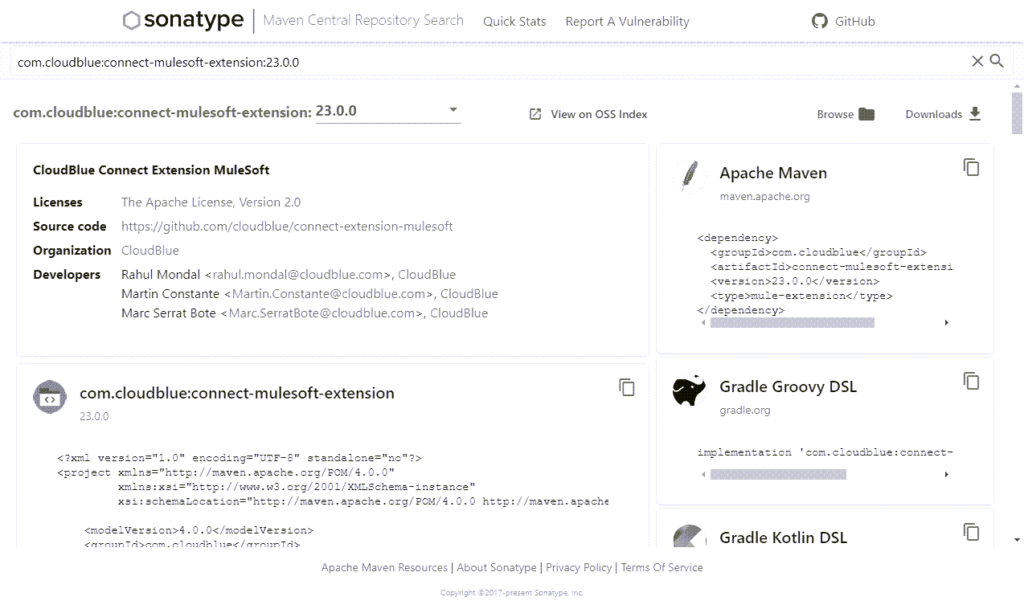
1. Access the Connect Mulesoft Extension from the Maven Central Repository.
2. Open Anypoint Studio and create a new project.
3. Edit pom.xml and add a new dependency as follows:
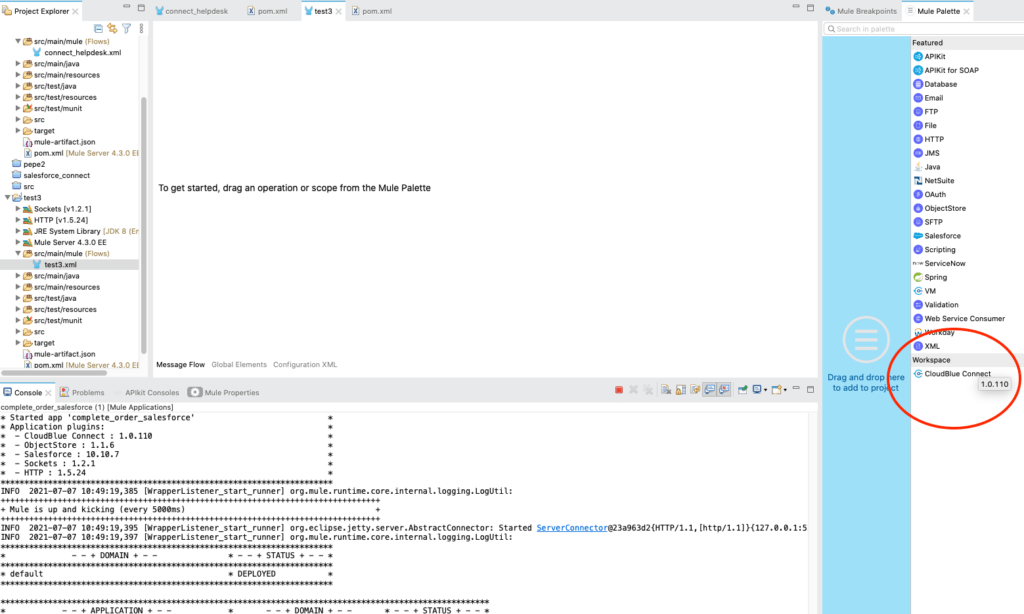
4. Run the project. Therefore, the Anypoint Studio should display the deployed Connector in the Mule Palette.
The following steps showcase how to deploy the Connector:
1. Download the project from the GitHub repository.
2. Execute the following command to compile the source code:
3. Open the pom.xml and copy-paste the following artifact information:
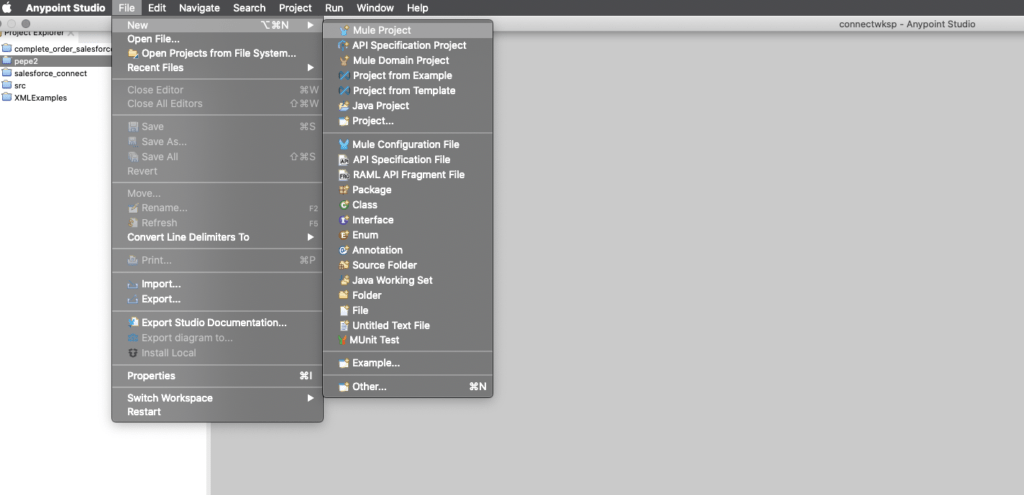
4. Open Anypoint Studio and create a Mulesoft project.
5. Add new module in Anypoint Studio as follows:
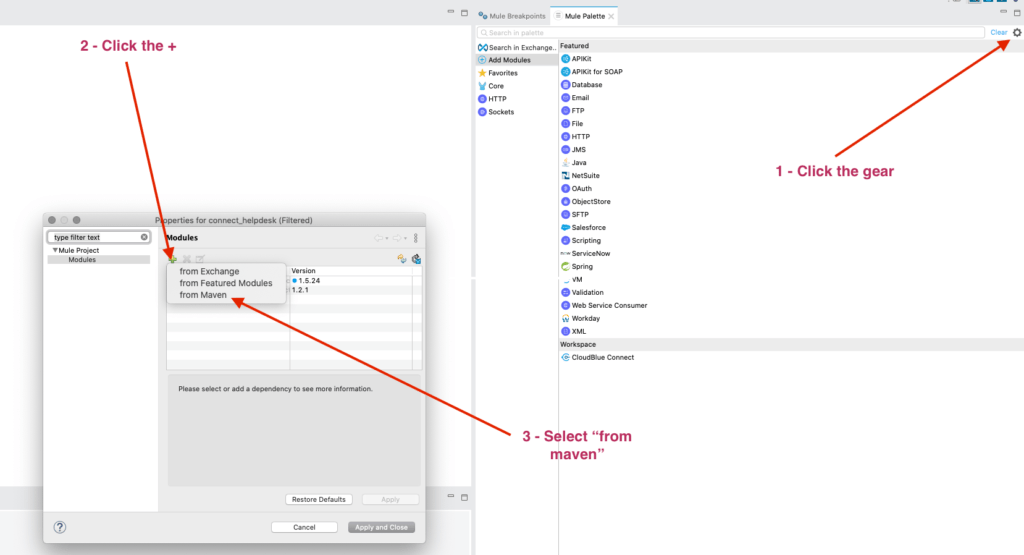
6. Paste the following artifact properties and click OK :

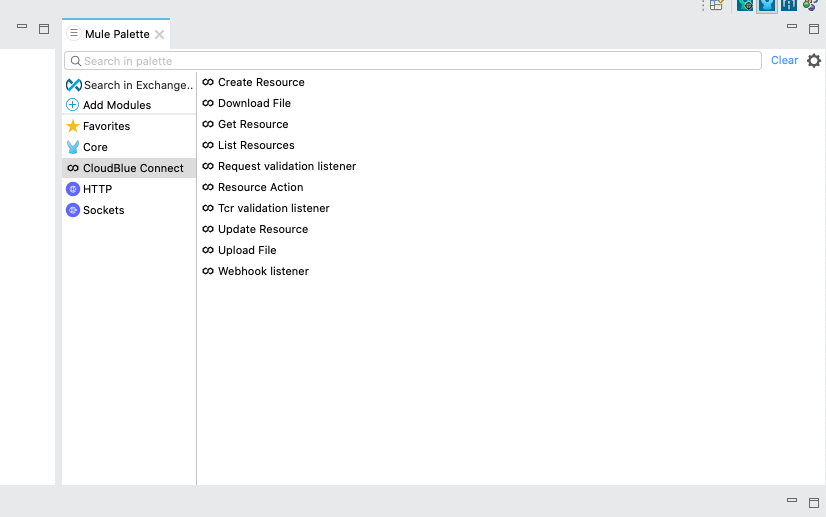
As a result, the Connector will be successfully deployed on Anypoint Studio.
 Contact us