
Before starting to work with Flowgear, it is important to understand general terminology and concepts of this platform.
Workflows are used to define and schematically illustrate your integration. Namely, a Flowgear workflow represents series of Nodes that are added to the Workflow Canvas and then connected together with Flow Connectors.
All objects in your workflow are added to the design canvas. You can move around the design canvas by dragging it and zooming in or out.

A Connection represents an endpoint for a data source. Connections are stored per Site and are accessed from the Connections Pane within the Console. Connections are created against a specific Node and typically include properties for an endpoint and credentials (although they may include other types of properties as well).
Nodes are the building blocks of a Flowgear workflow. Create an integration by adding a series of Nodes and connecting them together with Flow Connectors. Manage your nodes as follows:
▽ on the Node Header.There are two kinds of Flow Connectors: Execution Flow Connectors and Data Flow Connectors. The Execution Flow Connectors govern the sequence of execution of Nodes and usually connect between Node Headers (the exceptions to this are the Start Node and Nodes that have multiple Execution Outputs like If or Choose). Data Flow Connectors control how data moves between Nodes. They connect between properties on Nodes. Manage your Flow Connectors as follows:
In case you want to integrate CloudBlue Connect to your system, Flowgear can help you implement this integration in minutes. Flowgear allows creating one or multiple workflows that are used to automate your operations on the Connect platform. Flowgear’s workflows are built via nodes of the Flowgear connectors.
A Flowgear workflow is an automated integration that connects your apps and services together. Every workflow consists of a trigger step (“when this happens…”) and one or more action steps (“then do this…”). When you turn your integration on, it will run the action steps every time the trigger event occurs.
There are two ways you can create integrations: by using a Flowgear template or by creating a new custom workflow from scratch.
You can find pre-built or shared workflows to start your integration. (more info in this link)
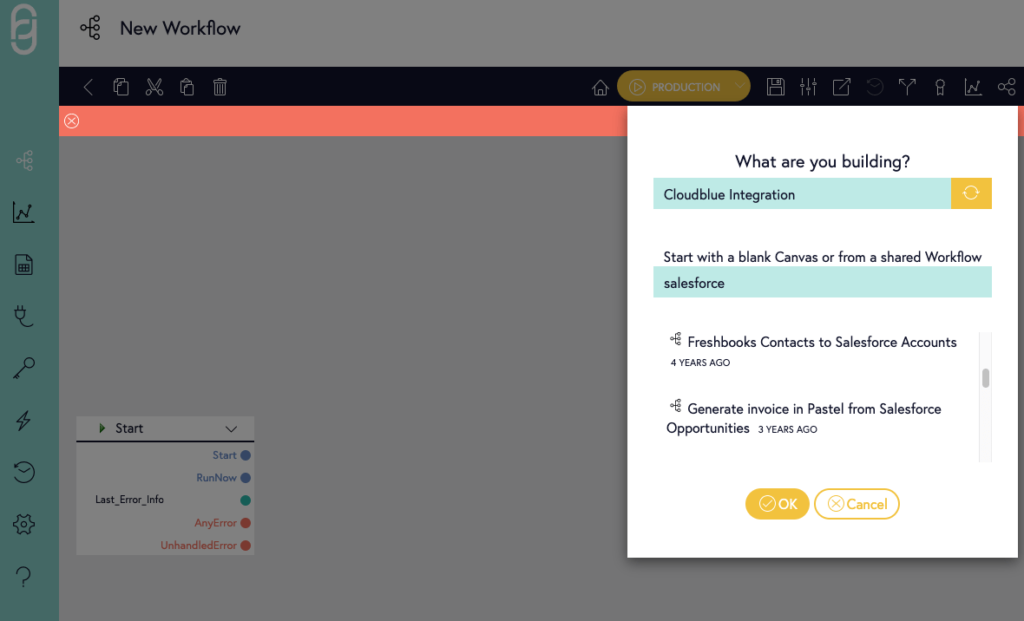
You can also create your Workflow from scratch. Go to Workflows and click on the + icon. Therefore, Flowgear should open a new a canvas. This canvas has only one “Start” node. This node is the start point of the integration. You must select and place nodes and connections to build the workflow.
 Additional content
  Contact us
